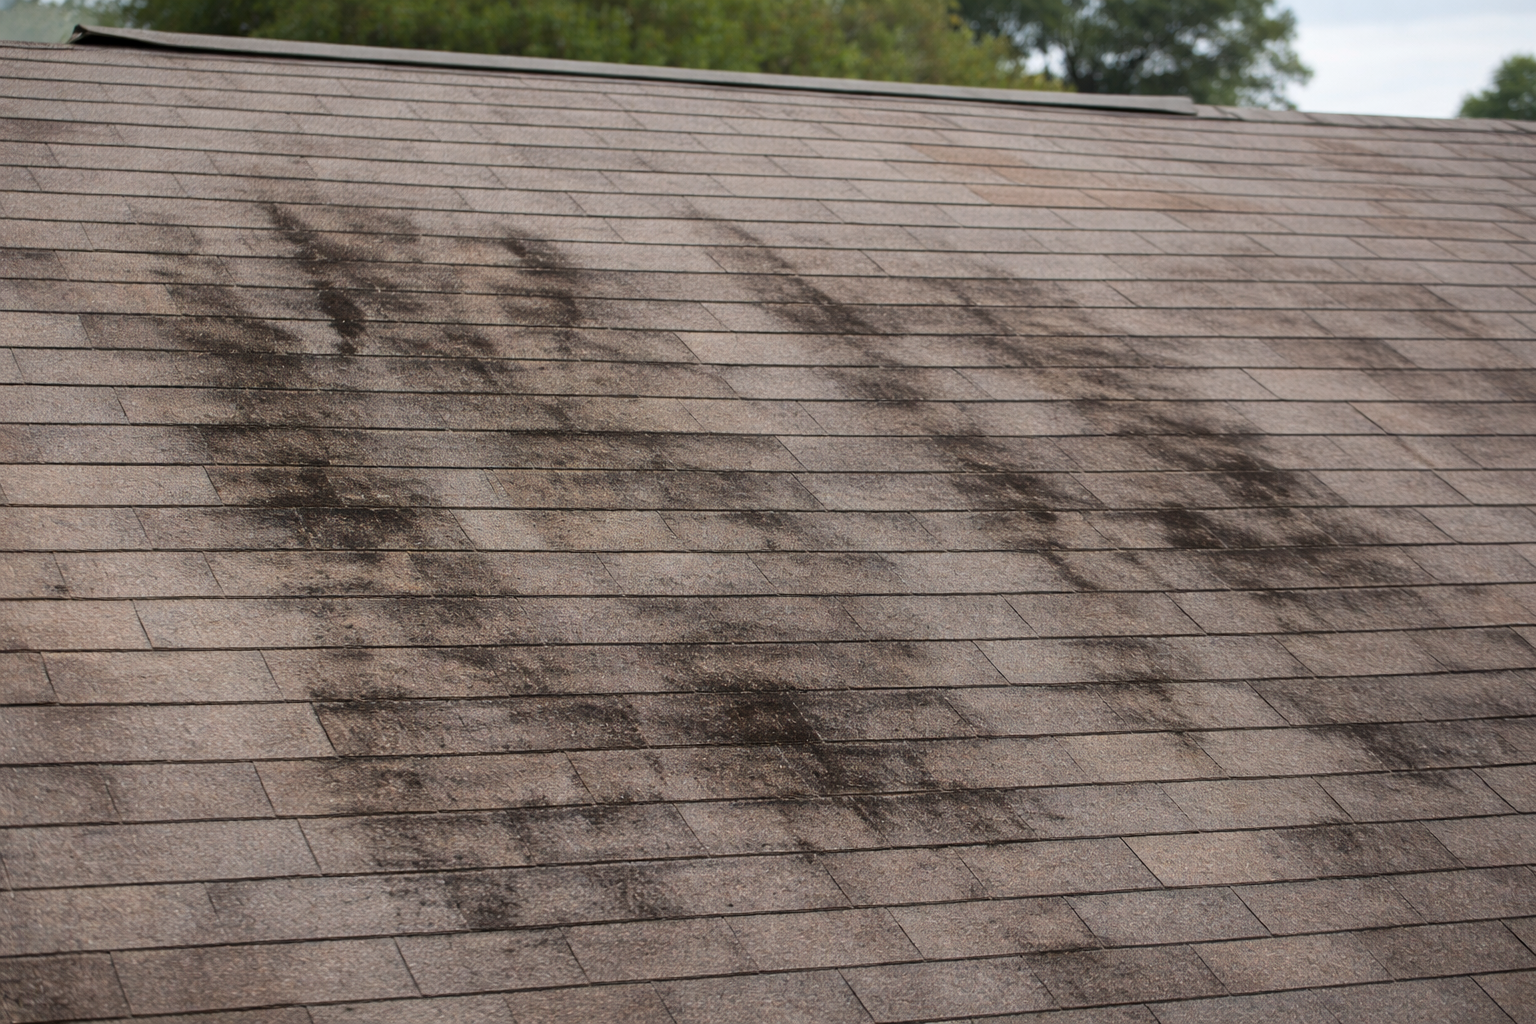
When you’re fixing roof leaks, you’re usually dealing with two problems at once: stopping water right now and figuring out where it’s really getting in. In Wilmington-area storms, the ceiling stain almost never points straight to the entry point, and wind-driven rain can push water under shingles or around flashing in ways that can feel illogical.
This guide helps you contain the leak safely, then narrow down the most common real-world sources (like vent pipe boots and flashing) using practical roof leak detection, without causing more damage by trying to “patch” in the rain. You’ll also get a clear DIY-vs-pro decision line and what a durable repair should include (so you don’t get sold on vague “we sealed it” work) so you can act fast before a small leak turns into drywall, insulation, and mold problems.
Stop the Water Today, Safely

Start inside. Put a bucket under the drip, then move valuables and furniture out of the splash zone. If water is near a ceiling light, switch off that circuit at the breaker and don’t use the fixture. If the ceiling is bulging, poke a small hole with a screwdriver over the bucket to drain it in a controlled way. Run a fan or dehumidifier to slow swelling and help prevent mold.
Fight the urge to climb onto the roof during wind-driven rain, even if you think, “Let’s just patch it for now” as an emergency roof repair. That move is like chasing a drip with a bucket in a hurricane. In the next hour, your best win is containment: catch water and protect electricity, and document photos of the stain and attic wet spots (if you can access it safely) so a roofer can pinpoint the entry faster.
Why the Drip Lies
You can spend an hour chasing the wet spot you see and still miss the real entry point by several feet. That is how a “quick patch” turns into a second leak and a ceiling that keeps staining in new places.
The stain on your ceiling is usually the exit, not the entry. Water can get in higher up the roof. It can hit the underside of the decking, then run along a rafter or seam until it finds a low spot to drip. That’s why a leak can show up dead-center in a bedroom even when the real problem is closer to a vent or a roof-to-wall transition several feet upslope.
Around Wilmington, wind-driven rain is what turns a small gap into a hard-to-trace leak. Sideways gusts can force water under shingle edges and through tiny openings that stay dry in normal rain. Once water is inside the roof assembly, it can “wick” along wood fibers or follow nail shanks, then emerge somewhere that looks unrelated.
If you can safely check the attic, start with the roof deck, not the ceiling stain. Start by finding the wettest point on the underside of the roof, then trace uphill and outward. Case in point: you’ll sometimes see a damp line on the decking that leads to a plumbing vent pipe boot and a likely vent pipe boot repair, even though the interior stain sits a few feet away. Here’s the blunt truth. If you’re only searching above the drip, you’re too low, and This Old House would tell you the same.
Most Common Leak Sources Here
It’s common to find nothing over the room and then trace the water to a split vent boot farther upslope. Usually, it’s a worn joint at a penetration or intersection, not a random hole in the shingles.
If you’re trying to prioritize where to look first, stop treating the leak like a random hole in the field of shingles. On most homes around Wilmington, the highest-odds failures cluster at joints and penetrations, especially when wind-driven rain finds a sideways path that a straight-down shower doesn’t test. A quick check of penetrations and intersections usually beats inspecting every shingle tab, and it’s easier to do without missing the real culprit.
| Likely leak source | What to check outside | What to look for inside/attic | Common storm clue |
|---|---|---|---|
| Plumbing vent pipe boots (rubber collars at pipe penetrations) | Cracked/split/shrunken rubber; gap where collar meets pipe | Damp ring or dark staining on decking upslope of pipe | Often shows up in hard, gusty rain even if the boot looks mostly intact |
| Flashing and valleys (metal at intersections) | Rusty edges; lifted shingle corners along metal; debris packed in valley forcing water sideways | Staining that follows a seam rather than a single drip point | Leaks near chimney/sidewall/dormer/valley line; wind-driven rain worsens it |
| Vents and ridge/roof exhaust details | Backed-out fasteners; failed seals at vent boxes; ridge vent end-caps | Darkened decking or damp nail tips just upslope of vents/along ridge | Appears during windy storms but not gentle rain |
| Shingle sealing and wind-lifted edges | Slightly raised tabs; “fluttering” look after storms | Scattered wet spots without one obvious penetration | Water pushed under edges when adhesive strips don’t bond (age/salt air/algae/ventilation) |
What you can do differently right now: pick the nearest penetration upslope of the stain. Take a clear outside photo of it, plus one attic photo of the wettest decking area. That pair of photos helps a roofer rule in a boot/flashing/vent issue quickly, instead of selling you on “bad shingles” as a catch-all.
Most active leaks in coastal North Carolina trace back to roof penetrations like chimneys, plumbing vents, and exhaust terminations rather than a random shingle field failure. Read more in our article: Roof Leaks Chimneys Vents
Fixing Roof Leaks: DIY or Pro?

The real decision isn’t whether you’re “handy.” It’s whether you can reduce uncertainty without taking on roof-level risk or accidentally masking the clue a durable repair depends on. Locally, leaks often appear only when gusts drive water into a small opening. That’s exactly when a rushed roof climb turns a manageable problem into cracked shingles or a bad fall.
If you have safe attic access, start there and treat it as your high-signal, low-risk move. You can follow the wettest decking line upslope, snap a few clear photos (wide shot for location plus a close-up of the suspect boot/flashing/vent), and then mark the spot with a piece of tape on a rafter. That often gives you enough information to call for a targeted repair, rather than a vague “somewhere over the bedroom” hunt.
Choose a roofer now if any of these are true: the roof is steep or more than one story, it’s still wet or windy, or you can’t identify a likely entry point from the attic, especially if you’re trying to line up Wilmington NC roof leak repair fast. For instance, if the stain appears only during gusty nor’easters, you’re dealing with a detail that fails under sideways water, and quick caulk-and-tar smears can buy you a day but cost you accuracy later.
If you do anything outside yourself, keep it to documentation and gentle observation from the ground or a stable ladder: note which penetrations sit upslope and take zoomed photos.
A clear, repeatable inspection process makes it much easier to compare contractors and avoid paying for guesswork when you need answers fast. Read more in our article: Roof Inspection Wilmington Nc The cheapest patch is almost never the smartest fix. That’s not wisdom. That’s just a Home Depot / Lowe’s weekend project aisle run talking.
What a Durable Repair Looks Like
You get the repair done once, the next storm hits, and nothing changes inside. The difference is usually not the brand of sealant, it’s whether the detail was rebuilt the way the roof sheds water.
A durable roof-leak repair replaces the failed detail instead of smearing something over it. That’s a short-term patch, not a fix. The lap sequence has to work like interlocked shingles in a chain. For example, if a vent pipe boot is cracked, the lasting fix is a properly sized new boot integrated under the surrounding shingle courses, not a ring of roof cement around the pipe that works until the next hot-cold cycle.
If you want to avoid the tar-and-caulk trap, approve a scope that names the component and how it ties back into the roof system: “replace pipe boot,” “re-flash sidewall,” or “rebuild the valley section,” plus new fasteners and sealant where it belongs (typically under laps, not on top). Before you pay, ask for a couple of phone photos of the finished overlap and nail coverage. I’m not trying to open a can of worms. I’m trying to make sure the detail is real. You’ll save yourself money and headaches the moment you stop accepting “we sealed it” as a real description of the work.
Cost Reality and the Damage Cliff
HomeAdvisor’s late-2025 pricing puts most roof repairs around $394–$1,961, with leak-stopping commonly $150–$2,000 depending on what failed. The painful part is how fast that number gets eclipsed when the water keeps moving inside the house.
In real-world pricing, most leak-stopping repairs land in a predictable band: roughly $400–$1,500 for many homeowner situations, with small, localized fixes sometimes $150–$500 and more involved leak work climbing toward $2,000+. That range helps you sanity-check quotes, but it only holds if you fix the entry point soon. Otherwise you are throwing good money after bad. Check the Better Business Bureau (BBB) before you sign anything big.
Wait, and the roof repair can become the cheapest line item, by far. That is the part most people regret. Wet insulation and stained drywall can add thousands fast, especially in Wilmington’s humid, stormy weeks where materials don’t dry out on their own. The trap is thinking a $30 tube of roof cement “saved” you money when it really bought you hidden damage.
Even small, “simple” roof fixes can create bigger problems when wet shingles, steep pitches, or hidden damage are involved. Read more in our article: Small Roof Repair Risks
FAQ
Why Does My Roof Leak Only When It’s Windy?
Gusty storms can force water under shingle edges and into small gaps at flashing and pipe boots that stay dry in a straight-down shower. If it shows up during nor’easters or tropical bands but not gentle showers, treat it as a detail/penetration issue until proven otherwise.
What’s the Fastest Way to Document a Leak So a Roofer Can Diagnose It?
Take a wide photo of the ceiling stain (include a corner for reference), then a close-up, then a short video panning from the stain to the nearest exterior wall. If you can safely access the attic, photograph the wettest decking area and one wider shot that shows where it sits between rafters.
What Photos Should I Ask a Roofer to Send After the Repair?
Ask for phone photos that show the repaired area before shingles go back down and after it’s finished, so you can see how the flashing or boot tucks under the shingle courses. If the scope is a pipe boot, you want a clear shot of the boot seated to the pipe and integrated under the upslope shingles, not just sealant on top.
Should I Wait Until After the Storm to Schedule a Repair?
You should call as soon as you’ve contained the water, but you usually want the actual repair done when the roof surface is dry enough to work without damaging shingles or trapping moisture. If more rain is coming, focus on documentation and getting on a roofer’s calendar, because delays are how small leaks turn into drywall, insulation, and mold costs.
Is a Roof Leak an Insurance Claim or a Maintenance Repair?
Insurance commonly focuses on sudden, event-related damage (like wind tearing shingles off), while long-term wear items like aging pipe boots, failed seal strips, and corroded flashing often fall under maintenance. If you think a storm caused it, document the date, weather event, and any exterior damage you can see from the ground before anything gets disturbed.
Roof not getting any younger? Contact us or call 703-673-6301 to find out where you stand.If the DIY trail runs cold, a free HardShore roof inspection finds what’s feeding the leak.