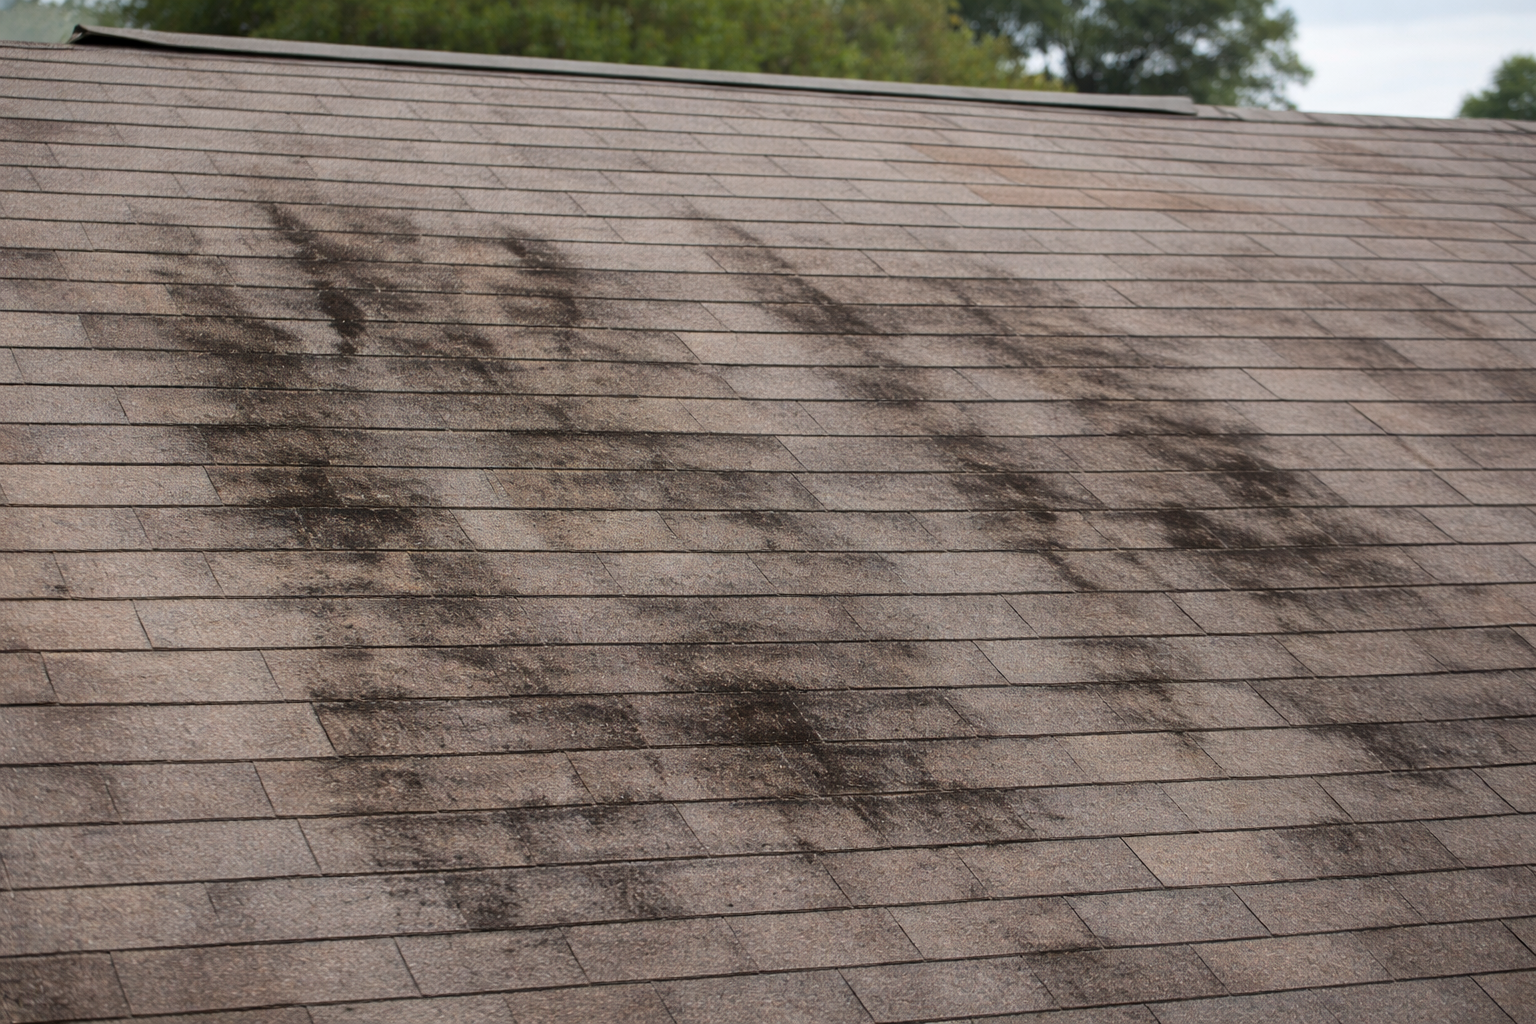
The first signs your roof needs attention before it starts leaking are visible wear and “detail” failures that change how water sheds. Look for curling or cracked shingles and granules piling up in gutters. If you’re seeing a repeating pattern after storms, get ahead of it and book an inspection.
If you’ve noticed a faint ceiling stain that comes and goes or a dark spot near a seam, you’re not alone. The frustrating part is that the roof can look “fine” from the yard. Water can still get in at transitions like pipe vents and chimneys, then travel before it shows up inside. In the sections below, you’ll get a fast, ground-level scan you can do in minutes and the specific red flags that mean you should book a real inspection before a small issue turns into a soaked deck or wet insulation.
Your Fast, Safe Roof Scan
You ignore a tiny, intermittent drip and then one night a wind-driven storm turns it into a soaked ceiling and a mystery trail inside your attic. Catching the early, outside clues is how you avoid paying for both a repair and the cleanup, and spot the signs your roof needs repair.
You can learn a lot about an asphalt shingle roof without climbing a ladder. In coastal Wilmington-area storms, that quick check can keep a small issue from turning into an intermittent drip later. The key is to stop treating “missing shingles” as the only meaningful clue. That mindset is flat-out wrong. Most problems start at the details: edges and penetrations where metal flashing and rubber boots have to stay sealed through heat, wind, and salt air.
Start with a slow walk around your home from the ground and check your gutters and downspouts (NRCA homeowner guidance: roof inspection and maintenance resources). After a windy rain, pop the downspout elbow off (or look into the cleanout) and see what collected. A little grit can be normal, especially on newer shingles, but ongoing heavy granules later in a roof’s life are your cue to escalate to an inspection.
| Check area | What to look for (from the ground) | Why it matters |
|---|---|---|
| Shingle field | Curling edges, cracked tabs, bald-looking patches, patchy color shift | Surface wear or deformation can change how water sheds and invite wind-driven rain underneath |
| Gutters/downspouts | Granules piling in gutter corners, at downspout exits, or washed onto a driveway after multiple storms (trend, not one-time) | Recurring buildup can signal accelerating granule loss tied to roof surface wear |
| Details (leak starters) | Lifted/bent metal at chimneys and sidewalls, damaged vent pipe boots, messy old sealant blobs, debris-packed valleys | Transitions and penetrations often fail first and let water in even when shingles look “fine” |
| Edges/eaves | Sagging gutter lines, dark streaking at fascia/soffit, drip stains | Clues that water is escaping at the perimeter instead of draining cleanly |
If you spot two or more of the above or you keep seeing the same granule buildup after storms, you’re past “keep an eye on it,” and even a roof inspection checklist would flag it (see NRCIA roof inspection checklist). Book a roof inspection and tell them what you saw and where, so they can focus on the likely entry points instead of giving you a quick glance-and-go.
Shingles: Aging vs. Damage

A neighbor’s roof can look only a little older than yours from the street, yet one has the early signs of roof leak while the other stays tight through storms. The difference usually shows up in how the shingle edges and tabs are behaving, not in one dramatic missing patch.
Aging shingles tend to stay flat, with mild fading and light surface scuffing. Better safe than sorry, but don’t confuse that with damage. Damage shows up when the shingle stops moving water the way it should. It’s like a bad overlap in shingles. Water finds the seam. Curling or cracks let wind-driven rain work under the shingle instead of running cleanly off the surface.
Here’s the quick read from the ground. Curling (edges turning up or cupping) often means the shingle has heat stress and has lost its ability to stay sealed. In coastal gusts, that turns into fluttering and fast breakage. Cracking (straight splits or fractured corners) signals brittleness, so a normal storm can snap a tab and create an entry path. Lifted tabs (you can see shadow lines or uneven rows) suggest the adhesive bond is failing; don’t tell yourself “it’ll lay back down” after the wind.
The real red flag is exposed mat: dark, bald-looking patches where the protective granules are gone and the asphalt layer shows.
In many cases, extending the life of aging asphalt shingles is possible when surface wear is addressed before leaks start. Read more in our article: Wilmington Roof Too Old At that point, schedule an inspection, even if you haven’t seen a drip yet.
Granules in Gutters: When It Matters

A new shingle can lose about 12–15% of its granules before the asphalt mat is truly exposed, so a little grit can be part of normal life (see 12–15% granule loss context). The problem is when that shedding stops being “some” and starts looking like a repeatable loss pattern after storms.
Seeing sand-like grit in your gutters doesn’t automatically mean your roof is failing, understanding the granules in gutters meaning matters. Newer asphalt shingles often shed the most granules early on (as noted in GAF’s granule loss technical bulletin). That initial “settling” can look dramatic after the first few heavy rains. If you treat every bit of grit as a crisis, you’ll burn time on false alarms and still miss the real wear signals.
Granules matter because they’re the UV and impact shield for the asphalt layer underneath. The signal to take seriously is late-stage or accelerating loss, where you keep finding heavy buildup after storm cycles and you can also spot wear on the roof surface. As an example, if your downspout discharge starts leaving a recurring dark, pebbly fan on the driveway month after month, and the roof above looks patchy or “bald” in spots, you’re watching the protective layer disappear.
Use granules as an inspection trigger when you notice
-
A trend, not a one-off: repeated piles in the same gutter corners or at downspout exits after multiple storms
-
Bigger texture than dust: pea-sized clusters or thick, gritty mats that rinse out in volume
-
A match on the roof: visible bald-looking patches, darker mat showing through, or uneven color that wasn’t there before
If you’re seeing that pattern, don’t tell yourself, “It’s just a few granules.” Call for an inspection and mention which gutter run or downspout is collecting the most, so the inspector can trace the likely contributing roof area faster.
Routine roof washing can help homeowners spot developing wear patterns sooner by clearing grime that hides shingle defects and water-path clues. Read more in our article: Roof Cleaning
Flashings and Penetrations Fail First

One consumer-facing roofing source claims about 90% of roof leaks start at flashing points, not the wide-open shingle field If water is getting in, it often comes through the tight, fussy transitions first, classic roof flashing problem signs.
If you’re scanning the big shingle field for a “hole,” you’re usually looking in the wrong place. Start with the details first. Most early leaks start where the roof surface gets interrupted: plumbing vents, chimneys, sidewall transitions, and valleys. Those spots rely on metal flashing, rubber boots, and sealant to stay tight while everything expands and flexes in heat, wind, and salt air, common roof valley leak signs show up here too. A failed seal gives wind-driven rain a path under the system. The shingles can still look fine from the yard.
From the ground (or from a window), you can often spot the early tells. To illustrate this, a vent pipe area might show a crooked-looking boot flange or a lifted shingle edge right below the pipe. At a chimney or sidewall, you might see bent step flashing, gaps where flashing should sit tight to the siding, or heavy tar “smears” from an older patch that’s already cracking and pulling away.
Treat these as inspection triggers, especially after a storm
-
Plumbing vents: cracked or slumped rubber boot, exposed fasteners, or a shingle edge that looks popped up around the pipe
-
Chimneys and sidewalls: flashing that looks wavy, lifted, or separated; sealant that’s split or missing; staining on the chimney face near the roofline
-
Valleys: debris-packed channels, visible metal that looks rusted or bent, or a valley line that looks uneven like water can’t run cleanly
If one of these detail areas looks “patched” or deformed, don’t wait just because you haven’t seen a steady drip. “Held together with duct tape and prayers” is not a plan. Take a few clear photos, note which side of the house it’s on, and book an inspection that specifically calls out vents and flashing so you get more than a quick shingle count.
For roofs that still have sound shingles but are showing early aging, rejuvenation treatments can restore flexibility and help slow down brittleness. Read more in our article: Roof Rejuvenation
Contact us for a free inspection or call 703-673-6301 to find out where you stand.
Catch it at this stage and the fix stays small. A free HardShore roof inspection tells you which stage you’re in.