How do you know when it’s time to reapply or refresh the coating? You look for specific wear signs, especially at roof stress points, and you use your last application date only as a reminder to inspect.
In Wilmington’s sun and storm cycles, a “five-year” claim doesn’t act like a countdown timer. You’ll get a clearer answer by first confirming whether you have a film-forming coating or a penetrating rejuvenator, then checking key details for chalking or peeling. From there, you can decide whether you need a spot repair, a full refresh, or simply a better dry-weather window so you don’t trap moisture or cause a compatibility failure.
Start With Your Last Application Date

Your neighbor swears the roof was “done a few years ago,” then a fast-moving Wilmington storm turns a small oversight into a wet ceiling and a rushed, expensive callout. Often, the only thing that triggers an inspection is a date on paper, and that can beat waiting for damage to force it.
If you can find the invoice or email from the last treatment, use it to kick the tires around year 4 and plan a real checkup by years 5–6. Many shingle rejuvenation treatments get positioned as roughly a five-year reset, but that number isn’t a promise. It’s more like sunscreen wearing thin in Wilmington sun, salt air, and storm seasons.
The point of the date isn’t to force an automatic reapplication; it’s to keep you from waiting until you spot a ceiling stain. If you’re already past that 4–6 year window, treat it as a nudge to inspect now and schedule work during a dry-weather stretch rather than rushing after the next big rain.
A dated invoice plus a quick visual walk-around helps you set an inspection cadence that catches problems before they turn into leaks. Read more in our article: Roof Inspection Frequency
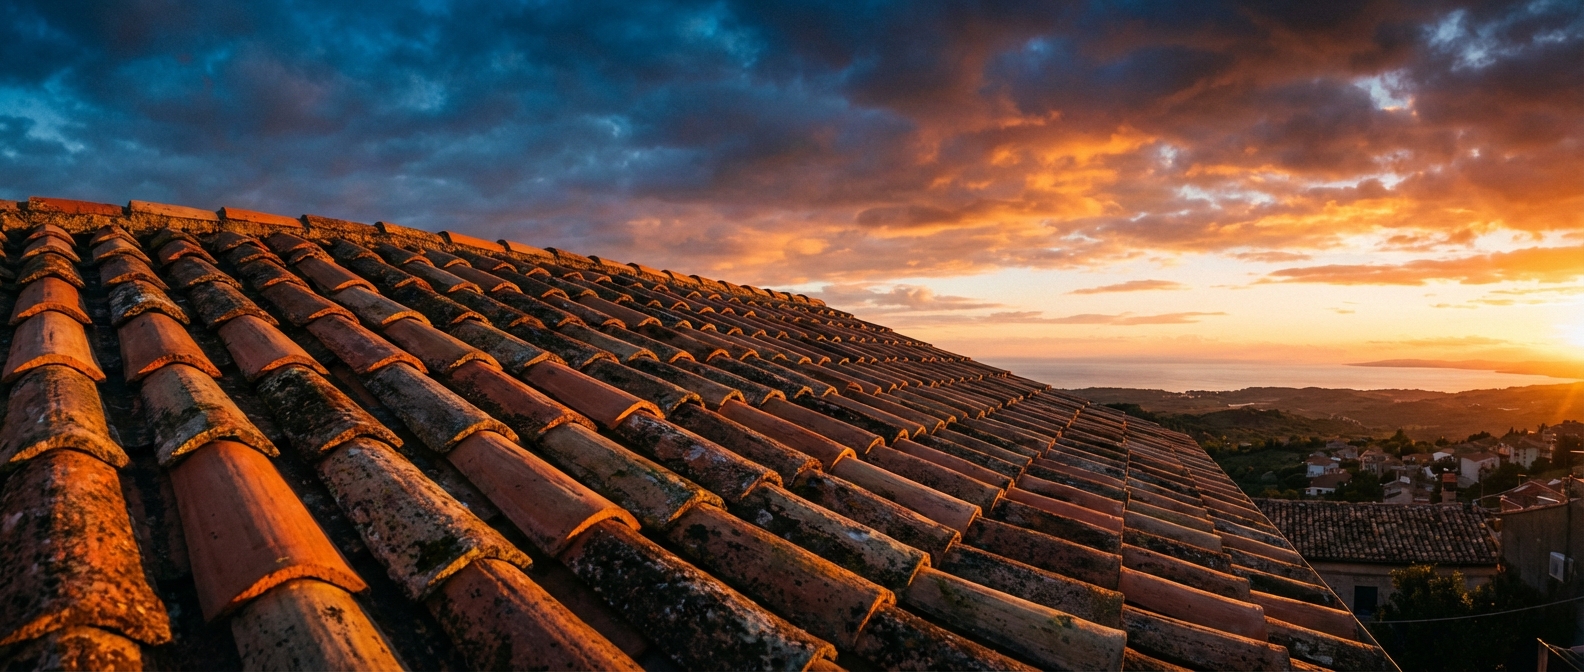
Decide What You Have: Coating or Rejuvenator

Before you look for “it’s wearing off” clues, make sure you’re judging the right system; guessing here is a bad idea, like skipping Consumer Reports before a big home spend. A film-forming coating leaves a visible layer on top of the shingles (you’ll often see a more uniform sheen or a paint-like edge where it stops), while a penetrating shingle rejuvenator soaks in and usually doesn’t leave a peelable skin.
Treat them as the same system and you’ll end up looking for the wrong signals. When a rejuvenator is involved, focus on shingle aging and exposure wear instead of waiting for a surface layer to crack like a coating would.
The Inspection That Tells You “Refresh Now”
Spot the early weak points and you can schedule a refresh calmly rather than scrambling after wind-driven rain. The real skill is knowing which details fail quietly first.
A reliable “refresh now” call—classic roof coating deterioration symptoms—usually doesn’t come from the big, open field of shingles. It shows up at the stress points first, like seam lines on a rain jacket. Around Wilmington, UV and salt air dry materials out over time (salt air roof coating maintenance matters), and then wind events and thermal cycling work the same handful of spots over and over. A quick look at the main planes can still miss the details that usually go first.
Start by checking the highest-movement, highest-water-risk locations: roof edges and valleys. If you’re unsure, get a second set of eyes on it. To illustrate this, you might see a roof plane that still looks uniform from the yard, but the vent boot area looks dull and dusty, or the coating line at a drip edge looks ragged. That’s often your first real clue that the protective effect is fading.
| What you see | What it usually means | What to do |
|---|---|---|
| Chalking/fading you can rub off (light dusty residue) in multiple areas, especially south- and west-facing slopes | Protective effect is fading across exposed areas | Schedule a refresh soon (weeks to a couple months) |
| Peeling, flaking, or strip-like lifting anywhere (even localized at an edge or penetration) | Adhesion failure (not normal aging) | Schedule promptly; don’t wait for the next storm |
| Edges/valleys/penetrations look degraded while the main field still looks OK | Details are failing first and should drive timing | Use the degraded details as the tiebreaker and plan the refresh accordingly |
Practical move: take a few phone photos of the same 3–4 details every time you inspect. When those photos show the dusting spreading or edges turning scalloped or lifted, stop guessing and book the next 24–48 hour dry window.
If you see peeling, flaking, or dusting at edges and penetrations, it can be hard to tell what’s normal aging versus damage that needs action. Read more in our article: Normal Shingle Wear Vs Damage
Two Timing Mistakes to Avoid

Bad timing can make you pay twice: first for the coating, then for the repair. Coastal humidity and unknown layers turn “quick maintenance” into a failure fast.
Recoating too early isn’t “playing it safe.” If the roof hasn’t fully dried out (common after humid weeks or shaded slopes), adding another layer can trap moisture and create bubbling or premature adhesion issues. Unknown existing product plus a new layer can create an incompatibility that fails fast, even when the roof still looks decent. Practical move: if the existing coating is unknown, treat a small adhesion test spot (or get a pro to) before you commit; pulling an Angi or HomeAdvisor estimate-check first is just smart.
Waiting too long flips the job from a refresh to damage control. Once you see peeling in strips, flaking at edges, or bare, weathered areas around penetrations, water and UV start attacking what’s underneath. Then you’re paying for prep and removal back to sound material instead of a straightforward reapplication. If you’re telling yourself “it’s only a little peeling,” you’re usually just choosing a more expensive version of the same project.
Coastal storms can turn a borderline coating into an active leak point fast, especially around exposed edges, vents, and valleys. Read more in our article: After Hurricane Roof Check
Make a Refresh Plan You Can Schedule
Most refresh projects don’t fail because the coating was “bad,” they fail because the plan ignored curing reality. Research-driven guidance commonly calls for temperatures above about 50°F and a true 24–48 hours of dry conditions for successful application.
If your problem is isolated at one vent or one edge, plan a spot repair now. Fix it before it becomes a bigger problem. But if you’re seeing the same dulling, chalking, or lifting across multiple stress points (or on an entire sun-baked slope), treat it as a full refresh job. The trap is telling yourself you’ll “just touch up a few places” when the pattern says the system is aging everywhere.
Before buying anything, answer the make-or-break question: is the existing system actually safe to recoat? If you don’t know the exact product/system on the roof, don’t guess. Do a small adhesion/compatibility test patch first (roof coating adhesion test) (or have a pro do it) so you don’t lock in peeling later.
Then schedule around coastal reality, not your calendar: pick a stretch with temps above ~50°F and 24–48 hours of genuinely dry weather so the roof can dry out. That dry window is your curing runway. In Wilmington humidity, a “looks sunny” day right after rain often isn’t dry enough.
Roof not getting any younger? Contact us at Contact us or call 910-241-1152 to find out where you stand.