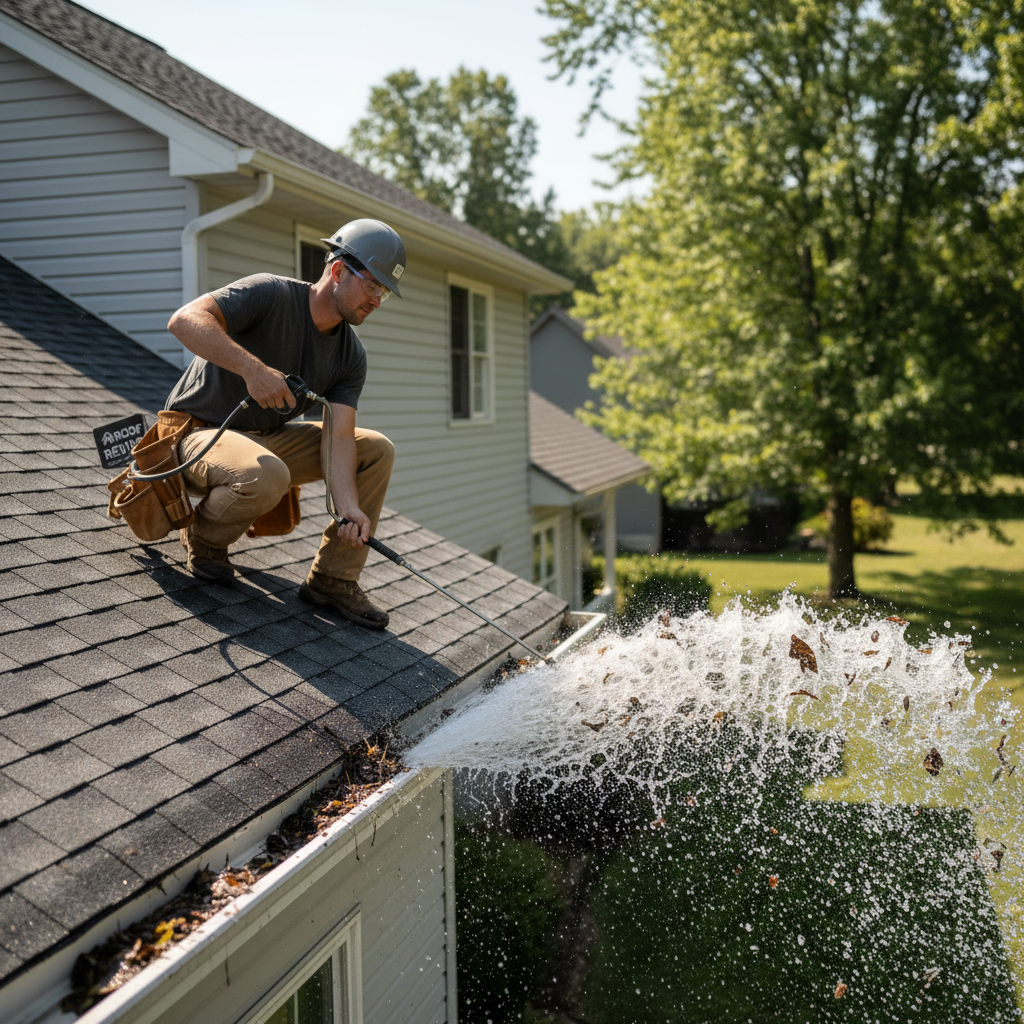
Those black streaks on your shingles make it feel like you need the strongest roof algae remover you can buy and fast. But on an aging asphalt roof in coastal North Carolina, the wrong “instant clean” approach can cost you granules and shorten shingle life.
In this guide, you’ll learn how to pick a roof algae remover that fits your roof material and your expectations. Kick the tires on the plan before you buy anything. You’ll also see why “killing it” and “getting it off” often happen on different timelines, what “safe” means in practice (no pressure-washing or scrubbing on asphalt shingles), and when it’s smarter to call a soft-wash pro instead of trying to force a same-day cosmetic result.
How to Choose a Roof Algae Remover
Choose an asphalt shingle algae remover based on your constraints, not the loudest “instant clean” claim. On an older asphalt-shingle roof in coastal North Carolina, the fastest-looking option can also be the easiest way to shorten shingle life or scorch landscaping if you can’t control dwell time and runoff. Case in point: if you’re treating a north-facing slope over hydrangeas with downspouts that dump into a mulched bed, your real problem isn’t just killing algae, it’s where the mix goes for the next 30 minutes.
Use one lens to decide: roof condition + access + runoff sensitivity + expectations.
| Lens | What to evaluate on your home | Prioritize if risk is high |
|---|---|---|
| Roof condition | Granule loss, curling tabs, brittle/shiny/sandpaper look | Gentlest application; avoid anything that tempts scrubbing or blasting |
| Access (working position) | Can you apply evenly and rinse from a stable position (often from the ground) | Treat as a stop sign; consider a soft-wash pro if you can’t control coverage/dwell |
| Runoff sensitivity | Where gutters/downspouts discharge; beds/sod/pets nearby | Pre-wet/protect landscaping; redirect/dilute discharge; choose lower-drama approaches |
| Expectations | “Kills it safely” vs “looks clean today”; patience for fade | Set a slower cosmetic timeline; avoid re-applying hot or extending dwell for same-day visuals |
If any one of those is a mismatch, the product isn’t “bad”, it’s just wrong for your situation.
-
Roof condition: If you see heavy granule loss, curling tabs, or brittle shingles, prioritize the gentlest application and avoid anything that tempts you to scrub or blast for quick visuals.
-
Access (your real working position): If you can’t reach the staining from the ground with a sprayer and a controlled application, treat that as a stop sign. Making the roof wet while you’re up there is the risk multiplier.
-
Runoff sensitivity: Map where gutters and downspouts discharge. If the runoff hits beds, a “spray-and-walk-away” remover still needs a plan to protect plants and dilute/redirect discharge.
-
Expectations: Decide whether success means “kills it safely” or “looks clean today.” Many treatments kill growth within days, but the streaks can take weeks to fully fade as weather rinses the dead staining away.
A simple rule is to pick the option you can apply evenly while keeping runoff under control. Think of it like keeping sand out of a surfboard wax job.
When Algae Is Just Cosmetic

You can spend a Saturday chasing a problem that isn’t hurting your roof, and still end up damaging it in the process. The first win is knowing when the streaks are just a stain and when they are a different issue entirely.
On most asphalt-shingle roofs around Wilmington, the classic sign of Gloeocapsa magma roof algae is flat, dark streaking that looks painted on and doesn’t have thickness. In most cases, it’s not worth panicking over. If the shingle surface still feels intact from the ground level (no obvious bald patches) and you’re not seeing debris dams holding moisture, you’re usually dealing with a stain you can treat with a roof algae remover. Consumer Reports home improvement product testing is a better compass here than gut instinct.
What changes the plan is anything that’s raised or structural.
In humid coastal conditions, black streaks can be algae, mold, or a mix, and the right fix starts with identifying what you’re actually looking at. Read more in our article: Black Streaks Roof Mold Algae Green mats at shingle edges, chunky patches that lift off in clumps, or crusty spots that look like they’re rooted in the shingle point to moss/lichen or trapped moisture, not just algae. Likewise, if you notice curling tabs, missing granules, exposed fiberglass, or a brittle, sandpaper-look surface, chasing a fast visual clean can cost you more than the stains ever will.
What “Safe” Cleaning Really Means

A homeowner in a hurry sees black streaks, grabs the strongest bottle, and works until the roof looks brighter. Two months later, the streaks are back and the shingles look rougher than before.
“Safe” roof algae removal isn’t about finding a product that claims to be gentle. It is about not sandblasting your roof with chemistry. It’s about whether your method avoids the two things that actually damage asphalt shingles: mechanical abrasion (pressure, scrubbing) and chemistry you can’t control (too hot, too strong, too long). When the approach relies on force to get same-day brightness, it’s a trade of roof life for appearance.
Start with the non-negotiables that roofing manufacturers and industry guidance keep repeating because homeowners keep ignoring them. Skip pressure washing and brush scrubbing on asphalt shingles (as emphasized in ARMA’s June 2024 algae-discoloration bulletin: ARMA technical bulletins). Both can strip granules and break the seal strip. The “it worked for my neighbor” story is a quick fix that usually leaves out what that roof looks like two hurricane seasons later.
Here’s what “safe” looks like when you translate it into rules you can actually follow
Rule 1: Treat It Like a Chemical Application, Not a Cleaning Project
The goal is a light, even application that kills algae, not mechanical removal. Use a hand-held sprayer you can control, apply from a stable position, and keep the roof surface disturbance minimal. To illustrate this, if you can see the shingles darkening unevenly in stripes because your spray pattern is inconsistent, you’re setting yourself up for patchy results and the temptation to “fix it” with scrubbing.
Rule 2: Control Dwell Time Like It Matters (Because It Does)
Industry bulletins call out a narrow working window for a reason: let the solution dwell at least 15 minutes but no more than 20 minutes, then rinse thoroughly (see NRCA’s guidance in its Algae Discoloration on Asphalt Shingle Roof Systems PDF). Longer isn’t “more effective.” Longer is how you drift into discoloration risk, accelerated wear, and landscaping trouble when runoff concentrates.
A simple homeowner move that changes outcomes: set a phone timer and treat in sections you can finish. For example, if one roof plane drains straight into a bed by the front walk, you don’t treat the whole slope at once “to save time.” You treat a manageable section, rinse, and keep moving.
Rule 3: Low Pressure Is a Limit, Not a Buzzword
Soft washing is defined by very low pressure, often at or under about 100 PSI (consistent with common soft-wash training guidance such as SoftWash Systems on soft washing vs pressure washing). That’s the point: you’re not using force to remove growth. If your “roof algae remover” plan involves a pressure washer on a wide fan tip because it “doesn’t feel that strong,” you’re still gambling with granules and shingle edges.
Rule 4: Judge Success on the Right Timeline
Biological kill and a uniform-looking roof happen on different timelines. Many treatments can knock back the biology within 24 to 72 hours, but the streaks may take 30 to 90 days to fully fade (a timeline often noted in soft-wash guidance like This Old House’s algae-removal guide). If you expect same-day perfection, you’ll over-apply, re-apply too soon, or start scrubbing, and that’s where “safe” turns into damage.
If you want a quick self-check: after application and rinse, your roof should look wet and treated, not scoured.
Even “low pressure” can dislodge protective granules on asphalt shingles if you’re using a pressure washer, which is why most manufacturers and pros steer homeowners away from it. Read more in our article: Pressure Wash Asphalt Shingles If it looks “instantly new” because you had to physically force the change, you probably crossed the line you were trying to avoid.
DIY Roof Algae Remover Options
Most DIY “roof algae remover” choices fall into three buckets, like the Home Depot / Lowe’s aisle experience (roof/cleaning chemicals section) in real life. They don’t fail because they’re useless. They usually go sideways when the product gets used on a roof plane where coverage and runoff can’t be controlled, while you’re still expecting a same-day visual reset. If you’re choosing based on which bottle promises the fastest before-and-after, you’re making the dumbest tradeoff in the whole project. You’re optimizing for the one outcome that most often pushes homeowners into over-application or scrubbing.
Here’s how the categories usually differ in the real world
| DIY option bucket | Visual speed | Control required (coverage/timing/rinse) | Runoff/plant risk | Best fit when |
|---|---|---|---|---|
| Spray-and-leave (slow-release cleaners) | Slow (weather-driven) | Lower | Lower (still manage discharge) | You want low drama and can be patient for cosmetic fading |
| Bleach-based mixes (chlorine bleach / diluted sodium hypochlorite) | Faster “something’s happening” | High | Higher if gutters/downspouts drain into beds | You can apply evenly, time dwell tightly, and rinse thoroughly |
| EPA-registered algaecides/fungicides | Varies | Medium (follow label) | Varies (per label/runoff plan) | You want labeled directions for algae/mold control and a repeatable process |
Spray-and-leave (slow-release cleaners) tend to win on low drama as a biodegradable roof cleaner. You apply, you don’t chase immediate whitening, and weather does the “removal” work over time. For example, on a lightly streaked north slope in Hampstead with decent sun and rainfall cycles, these can be a good fit if your priority is minimizing landscaping risk, but you need patience and you should expect seasonal touch-ups if shade and humidity keep feeding regrowth.
Bleach-based mixes (chlorine bleach or diluted sodium hypochlorite) are the most likely to create a fast “something’s happening” moment, but they also punish sloppy control. They raise the stakes on even application and strict timing, and they’re the easiest path to plant damage if your gutters and downspouts dump into beds. Case in point: if you can’t confidently keep the mix off painted trim and away from a downspout that drains into liriope, you’re not choosing a stronger option, you’re choosing a bigger mess.
EPA-registered algaecides/fungicides aren’t just “another cleaner.” They come with label directions you’re expected to follow, and that often includes specific dilution, dwell, and runoff considerations (see how roof-use directions are laid out on EPA’s Pesticide Product Label System (PPLS)). The upside is clarity: you’re buying a product designed and labeled for algae or mold control rather than a general-purpose wash, which can matter if you’re trying to manage regrowth without improvising chemistry.
DIY Execution That Won’t Backfire
Most DIY attempts go wrong for the same core reason: control breaks down. Do it right the first time. Treat it as a section-by-section chemical application, especially on older asphalt shingles where granule loss can’t be undone.
Use this minimal-risk sequence regardless of which DIY roof algae remover you chose
-
Pick a calm, dry window and work one roof plane at a time. If rain hits mid-dwell, you lose performance and you’ve still sent runoff into your yard.
-
Dilute exactly as directed and mix only what you’ll use. Stronger isn’t “more effective,” it’s just harder to control on shingles and landscaping.
-
Pre-wet and protect what the roof drains onto with a plant safe roof cleaner. Soak nearby beds and grass first, and if a downspout dumps into hydrangeas, temporarily redirect discharge to a safe spot or dilute continuously with a gentle hose flow.
-
Apply evenly, then start a timer. Keep the solution on for 15–20 minutes, then rinse thoroughly. Treat in sections small enough that you’ll never “just let it sit a little longer” because you got distracted. That extra dwell is like overcooking fish on the grill.
-
Rinse with low pressure and don’t scrub. You’re removing residue and letting weather handle the rest, not trying to mechanically erase every streak today.
-
Watch metals and sensitive surfaces. Rinse gutters and painted trim promptly, and don’t let solution dry on them.
As an example, if your back slope drains into a mulched bed in Leland, your best move isn’t a heavier application to speed up the visual change, it’s smaller sections and more deliberate dilution and rinsing so your plants don’t pay for your roof’s cosmetic upgrade.
Hard Edges to Avoid

-
Don’t mix hotter than the label (or your chosen dilution)
-
Don’t extend dwell time past 15-20 minutes
-
Don’t brush, broom, or “lightly scrub” asphalt shingles
-
Don’t switch to a pressure washer to force same-day results Instead, treat it like a runoff-management project: confirm where every gutter and downspout discharges and pre-wet those areas. If your front downspout empties into a bed you actually care about, that’s your cue to slow down and work smaller sections, not to apply more product.
When a Soft-Wash Service Is the Smarter Buy
You get to stay off a wet, steep roof and still end up with an even application and controlled dwell time. When access and runoff control are stacked against you, that reliability is what you are paying for.
DIY stops being “saving money” when your setup makes control impossible. The juice isn’t worth the squeeze. If your roof is steep or two stories up, or your shingles feel brittle, the real risk isn’t the algae. The real risk is turning a cosmetic project into granule loss, broken seals, or a fall because you had to work on a wet surface to reach the staining.
-
Algae is heavy enough that you’ll feel tempted to scrub for a same-day look
-
Gutters/downspouts dump straight into beds you care about (hydrangeas, azaleas, new sod)
-
Worried about warranty optics
-
Can’t apply and rinse in controlled 15-20 minute sections from a stable position
-
Ask what “low pressure” means in numbers, the way This Old House would (typically at or under about 100 PSI for asphalt shingles)
What Results Should Look Like Over Time

The timeline is longer than most before-and-after photos admit: biological kill can show within 24–72 hours, but the visual clearing often takes about 30–90 days. If you expect the roof to look new by tonight, you’ll be tempted into the exact moves that shorten shingle life.
A roof algae remover can be effective even if your roof doesn’t look “new” by the weekend. Over the first 24–72 hours, you’re looking for biological kill, not a dramatic cosmetic shift. What “worked” at this stage is that you applied evenly, held a controlled dwell window, and rinsed without scrubbing or blasting.
The 30–90 day window is where most of the cosmetic improvement shows up, because rain and normal weathering do the slow rinse like a steady tide. If you judge success only by same-day visuals, you’ll be tempted to re-apply too hot, let it sit too long, or grab a brush. That’s where the job can nickel-and-dime you with shingle wear and plant damage.
Keeping Algae From Coming Back
In coastal North Carolina, the winning prevention plan is rarely a single “roof algae remover” application. It is basic upkeep, and it works better than any miracle bottle. If your north slope stays shaded and damp most mornings (live oaks, tall pines), you’ll see regrowth sooner no matter what you used, so you’ll do better by trimming back canopy where you can and keeping valleys and gutters clear so water doesn’t linger.
Zinc or copper strips can help, but don’t treat them like a roof-wide force field (Cornell eCommons notes zinc runoff concentrations can be higher from newer surfaces than aged ones: Cornell eCommons). They are not magic. Real-world protection often only extends a limited distance downslope from the ridge and varies with how rain actually sheets over your roof, so long, shaded planes in Wilmington-area neighborhoods may still need a predictable touch-up schedule. A practical target: inspect staining a couple times a year (spring and early fall) and reapply your chosen approach when streaks first reappear, not when you feel embarrassed by them. Nextdoor neighborhood recommendations tend to line up with this cadence for a reason.
In coastal North Carolina, simple prevention steps like trimming shade trees and keeping gutters flowing can slow how fast black streaks return after treatment. Read more in our article: Prevent Roof Algae
FAQ
How Strong Should A Bleach-Based Roof Algae Remover Be?
Don’t treat “stronger” as “safer” or “better.” Follow the product label exactly, and if you’re mixing your own, keep it in the “mild bleach-and-water” lane used for roofs rather than a hot, instant-whitening mix that pushes you toward damage and landscaping burn.
How Long Should You Let It Dwell Before Rinsing?
Use a timer and keep dwell time tight: at least 15 minutes and no more than 20 minutes, then rinse thoroughly. If you can’t rinse within that window because you’re working too big of an area, you’re set up to overcook the shingles and concentrate runoff.
Will Runoff Kill My Plants Or Hurt Pets?
It can, especially where gutters and downspouts dump into beds, so treat runoff control as part of the job. Pre-wet nearby landscaping, dilute with gentle water flow during and after rinsing, and keep pets inside until everything is fully rinsed and dry.
Will Cleaning Void My Roof Warranty?
Warranty language varies, but the fastest way to create warranty problems is using a pressure washer or scrubbing asphalt shingles. Stick to low-pressure application and rinse, follow label directions, and keep notes of what you used and how you applied it.
Do Zinc Or Copper Strips Stop Algae For 10–20 Years?
They can help, but they don’t protect every shingle on every roof plane. In real conditions, the benefit often extends only a limited distance downslope from the ridge and depends on how rainwater actually sheets across your roof, so long shaded areas may still need periodic touch-ups.
Roof not getting any younger? Contact us or call 703-673-6301 to find out where you stand.If you’d rather not gamble on products, our soft wash roof cleaning in Wilmington applies the right remover at the right strength.