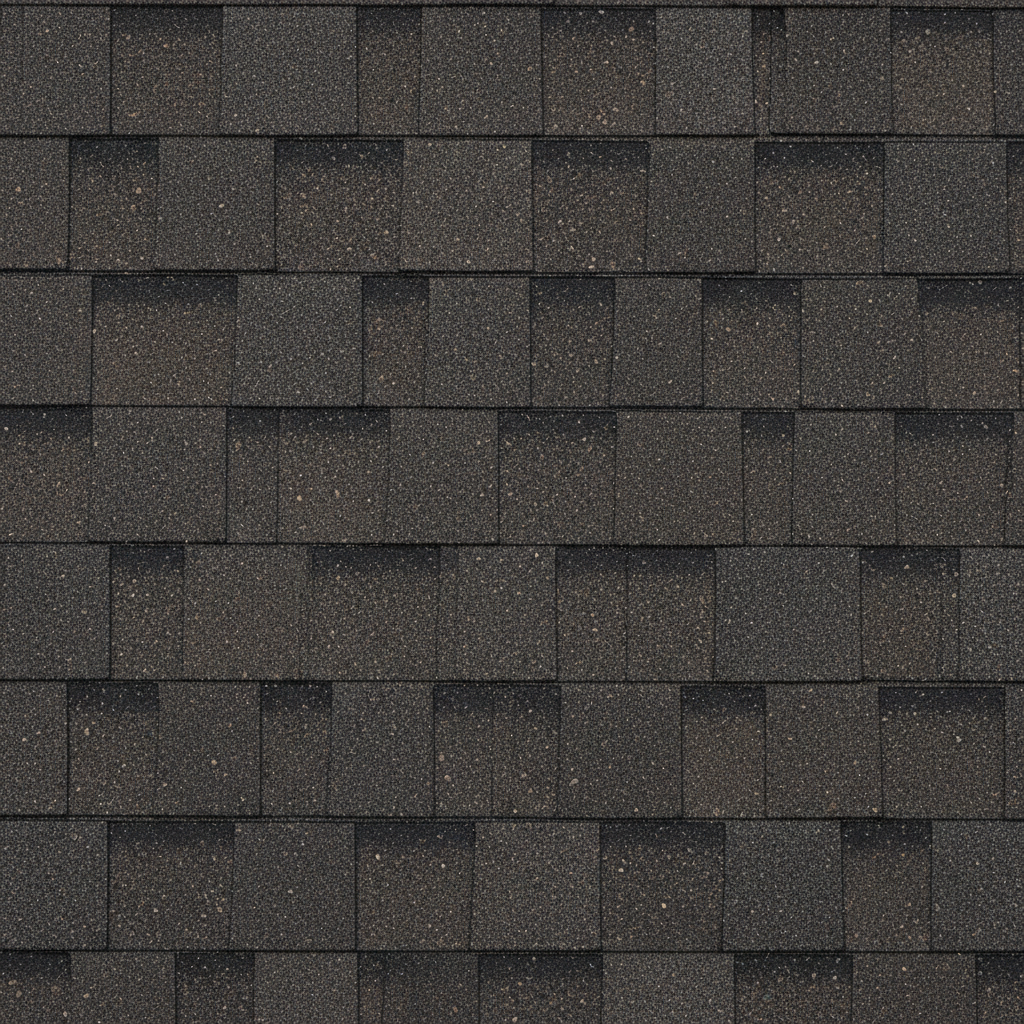
You’re seeing shingles curl or lift after a windy coastal storm because gusts repeatedly pry at the shingle edges and break the adhesive seal that holds each course down. Once that seal weakens, the tabs can flutter and wind-driven rain can sneak underneath even if no shingles are missing.
Along the Wilmington coast, salt air and strong sun speed up that loss of flexibility and adhesion, so the storm often reveals damage that’s been building over time. And if the roof was high-nailed, under-fastened, or detailed poorly at eaves and ridges, the same gusts that your neighbor shrugs off can leave your shingles looking “unseated” overnight. This guide breaks down what’s happening and how to tell when you’re in spot-repair territory versus when you should plan for bigger repairs or replacement.
Where Wind Actually Pries Shingles Up

Some storm guides note that 40–50 mph gusts can be enough to start attachment trouble when adhesion or fastening is already marginal. If you were in that range, the “it wasn’t hurricane-force” argument won’t feel very comforting.
Most wind damage comes from suction (wind uplift roof shingles) rather than the wind pressing shingles down. As gusts rush over the roof peak, the air speeds up and pressure drops, so the roof surface gets pulled upward while positive pressure builds underneath at eaves or small gaps. That pressure difference tugs at shingle edges and tabs.
Lifting shows up first at corners and eaves, particularly in the 40–50 mph gust range. Waiting for a full blow-off before you label it “storm damage” (shingle blow-off vs lifting) puts you behind the problem. NOAA and National Weather Service updates will not change that.
In coastal areas, wind uplift is often easier to spot early by checking for subtle tab movement, lifted corners, and other pattern-based clues before a full blow-off happens. Read more in our article: Check Wind Damage Shingles
The Real Failure Point: Seal Strip Bond
A homeowner hears a little tapping at night, ignores it, and a week later finds a brown ceiling ring after the next squall. The shingles never disappeared, they just stopped staying sealed between gusts.
Most “lifting” starts when the seal strip (the thin adhesive line that glues each shingle course to the one below) breaks or never properly bonds (roof shingles not sealing), so the tab can hinge upward even if the nails are still there. Manufacturer guidance flags this as a common wind-damage mode: the shingle isn’t gone, but the bond that keeps tabs from fluttering has let go.
You can often spot it from the ground: tabs that look slightly unseated or corners that rattle or flap in a breeze, so get eyes on it early. When “nothing blew off” becomes your test for seriousness, you miss the phase where repeated lifting lets wind-driven rain work underneath.
Coastal Accelerants: Salt, Sun, Heat Cycling

In Wilmington’s beach communities, wind is only the trigger, not the whole story, and the Home Depot or Lowe’s roofing aisle version of “it looks fine” is not a diagnostic. Salt mist leaves gritty deposits that dry out and degrade the shingle’s surface over time (salt air roof shingle damage), and strong UV plus daily heat-cycling makes the asphalt less flexible, so edges start to “remember” an upturned shape. As an example, a roof that looks fine in calm weather can suddenly show curled corners or lifting tabs after one nor’easter because that storm exposed a shingle that was already brittle and less able to re-seat and re-seal.
Salt air and humidity can accelerate shingle aging by drying out asphalt and weakening seals long before you see obvious missing shingles. Read more in our article: Salt Air Humidity Shingles
Installation Shortcuts That Mimic Storm Damage
You can pay for a “new roof” and still end up with tabs that flutter like an old one when the wind turns on. Bad fastening can stay hidden until the first big gust makes it obvious.
Many coastal storms simply expose anchoring or sealing problems that were already there. So even a “pretty new” roof can still lift or flutter. The most common shortcut is high nailing or missing the manufacturer’s nail line (high nailing shingles wind damage), so the shingle depends on the seal strip instead of the nails to resist uplift; once gusts flex the tab, you get creases, raised corners, and broken bonds.
Two other details create the same look: too few fasteners for a high-wind area or sloppy edge work. If the installer under-fastened or rushed the starter strip and ridge/hip caps, lifting tends to concentrate at rakes/eaves and along ridges because those caps rely heavily on adhesive to stay down. After a storm, a consistent lift pattern should trigger a nail placement/count check and a starter and ridge-cap review before you accept “the wind did it,” even if Nextdoor vouches for the last installer.
Repair vs Replace: A Homeowner Decision Rule
You want a call you can make quickly and defend later, instead of guessing under pressure. A simple pattern-based rule keeps you from wasting money on band-aids or replacing a roof that only needed targeted work.
If the lifting is isolated (one or two tabs, one ridge-cap piece) and the shingles still feel pliable, you’re usually in spot-repair territory. When the lift pattern repeats across a slope or multiple ridges, move from a one-off patch to broader repair plus a fastening and seal-bond inspection.
Use age and brittleness as the tie-breaker: a midlife roof that’s mostly flexible may hold up in a blow with restoration/rejuvenation + inspection to regain sealing margin after a storm, instead of a bandage fix. But if shingles look “fried” (widespread curl and heavy granule loss), plan on replacement. Don’t talk yourself into thinking “only a few corners lifted” means low risk if it’s happening in more than one area.
| What you’re seeing after the storm | Pattern/extent | Shingle condition | Likely next step |
|---|---|---|---|
| One or two lifted tabs (or one ridge-cap piece) | Isolated | Still pliable | Spot-repair |
| Lift pattern repeats across a slope/eaves/rakes or multiple ridges | Repeating | Any | Broader repair + fastening and seal-bond inspection |
| Midlife roof and mostly flexible | Any | Mostly flexible | Restoration/rejuvenation + inspection to regain sealing margin |
| Widespread curl, heavy granule loss, frequent cracks (“fried”) | Any | Brittle/degraded | Plan on replacement |
What to Do in the First 72 Hours
Your first job is to protect your options and stop water from getting worse, not to “fix” the roof with caulk. For example, smearing sealant over lifted tabs can complicate an adjuster’s view of what happened and won’t hold up as a real repair once the next gust hits. Manufacturer guidance also warns that caulking nail holes isn’t a permanent fix.
Within the first 72 hours, do three things: document and minimize intrusion, then schedule a qualified inspection (post-storm roof inspection Wilmington NC). Take clear photos from the ground of every lifted tab/edge (plus wide shots of each slope) and note the date and peak gusts you experienced, and save any shingles you find in the yard. If you have active leaking, use a tarp or buckets inside and have a roofer place temporary protection outside rather than climbing up yourself. Then call for an inspection that includes seal-bond checks and fastener review. Avoid “just nail it back down” or caulking nail holes as a permanent solution.
A thorough post-storm roof check should include seal-bond evaluation and fastener review, not just a quick look for missing tabs. Read more in our article: Typical Roof Inspection
Roof not getting any younger? Contact us at Contact us or call 910-241-1152 to find out where you stand.